

Android Pay was launched recently in Singapore, as the very first country to experience it in Asia, right after Apple Pay and Samsung Pay hit the market. Apple Pay or Samsung Pay is not an option for Adroid devices. Android powers 82.8% of global mobile operating systems, whereas iOS only contributes 13.9%. Apparently, Google has a greater potential in mobile payments compared to Apple.
Android Pay, Samsung Pay and Apple Pay, who will be leading in mobile payments, that has yet to be unveiled. For now, this article will walk you through the 12-minutes-or-so installation of Adroid Pay on Zenphone, demonstrated by a step-by-step tutorial.
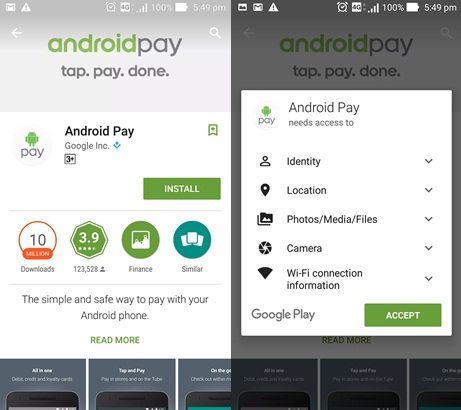
First, we search for Android Pay on Google Play Store. Android Pay can be installed smoothly in just one minute.

Next step is providing credit card information.

Impressively, Google actually had remembered the credit card in the previous input, but how will it go if we add a new one? A request to scan your card will appear. The bank options are: UOB, DBS, OCBC, POSB and Standard Chartered Bank.
This Optical Character Recognition (OCR) that Android Pay incorporated makes all this installation process more user friendly. After the OCR scanning, we just needed to input the expiry date and 3-digit Card Verification Value (CVV).
There is also an option to input our card numbers manually.
Now we only need to confirm the Terms & Conditions from the bank. Please note that it’s a mandatory step.
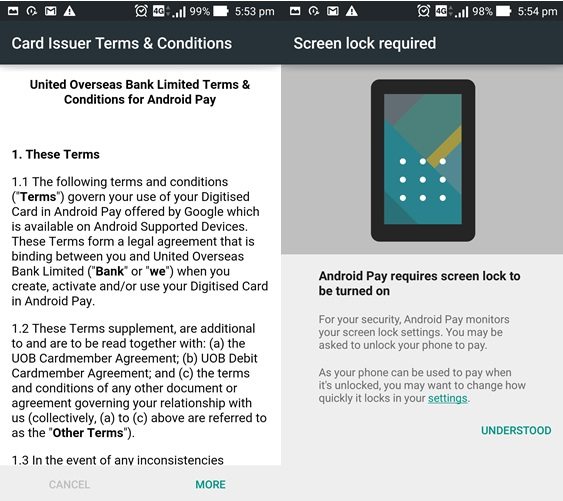
Unlike Apple Pay which uses Touch ID, Android Pay will ask us to unlock our screen when processing a payment. (I will be back with an article specifically about this security topic, along with an actual experiment). If our screenshot pattern was already set, it will be accepted quickly by Android Pay.
Verifying our credit card by the registered the phone number will be the next step.
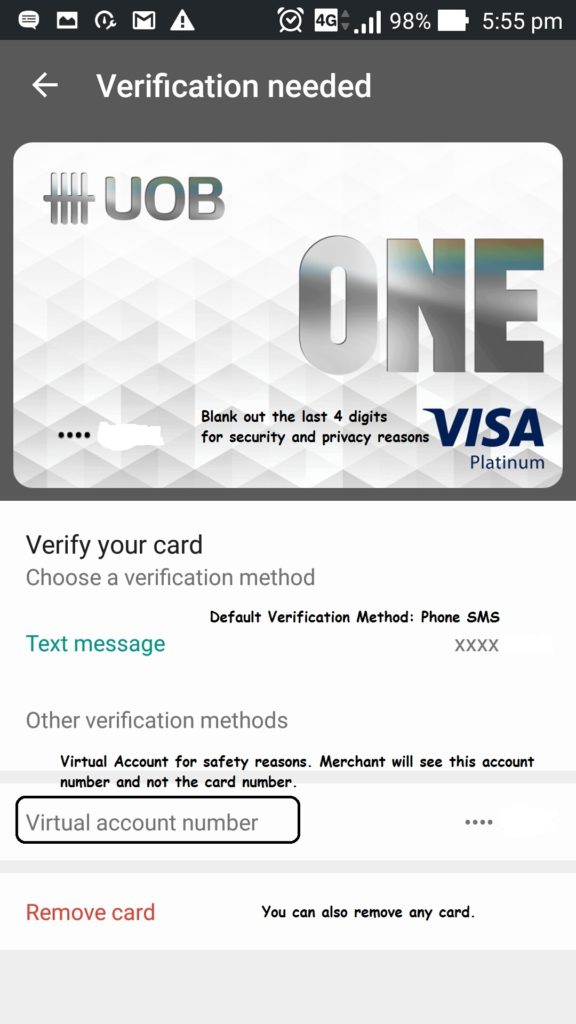
The virtual account number is quite handy and helpful since it will not expose our card number.
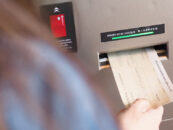
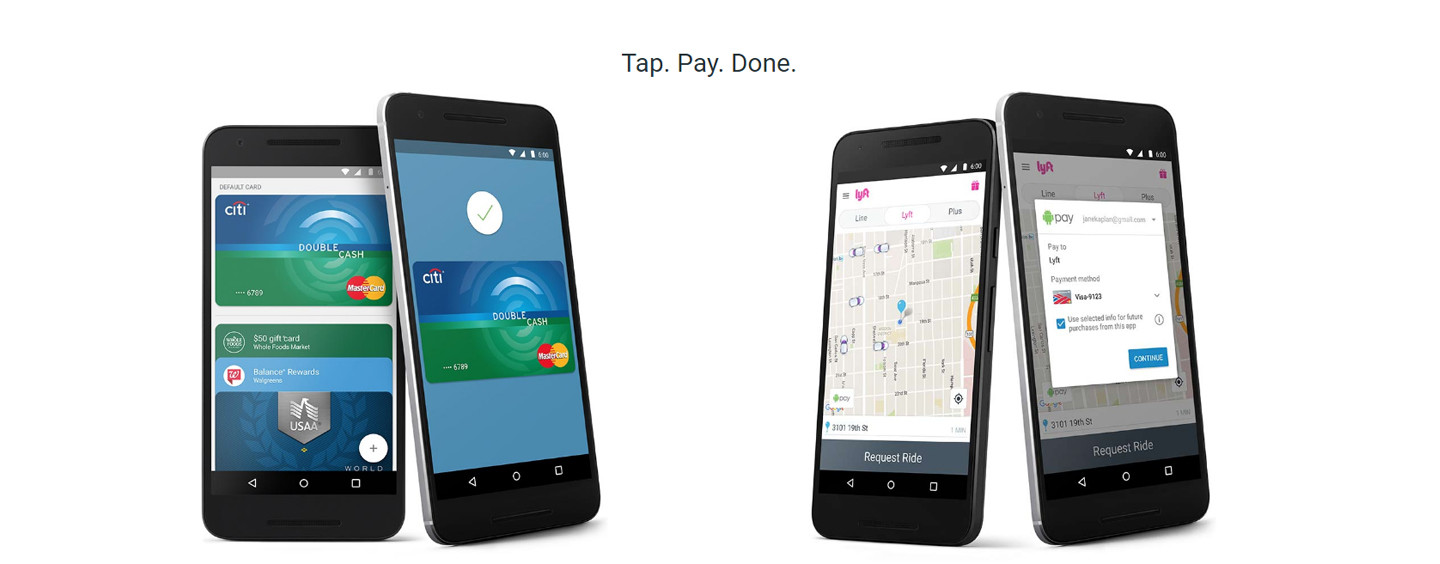
Now, whenever we want to Android Pay, just look for its signature symbol.
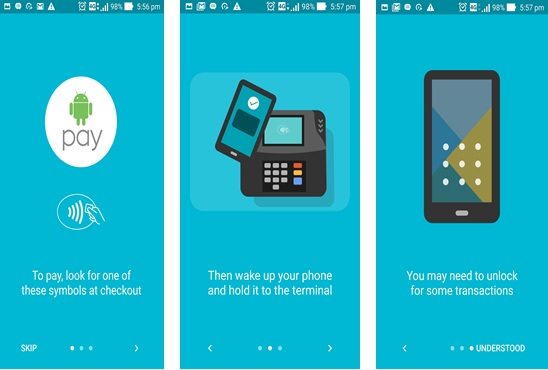
3 helpful baby steps instruction
Next, we need to turn the Near Field Communication (NFC) function on. NFC function is to exchange data between Android devices, which is turned off by default to conserve battery. But to use Android Pay, we must switch it on.

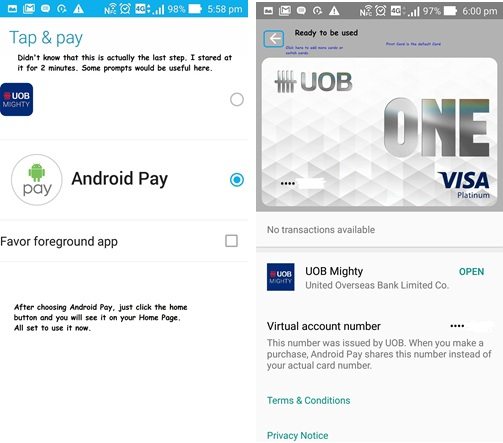
Final step is to choose Android Pay as out payment method. If our card was verified, we can use it for Android Pay. In the below screenshot, the default card was not verified though. The “Back” button can help us to add more or switch to other cards.
We can see this installation has some of its pros and cons as below:
Pros: Easy to install
Cons: First time users can be confused because instructions are very limited, and Android Pay should think of a reliable security mothod rather than screen lock patterns.
Overall, it was a good experience to install Android Pay on my phone. For most people, switching to a new payment method can be daunting, though.
We will use Android Pay in Singapore in an actual transaction later and describe the detail user experience. Stay tuned.